Sunday 26 February 2012

Giant Yorkshire Pudding with Sage

I was chatting with a friend and fellow food enthusiast recently about the best way to make Yorkshire Pudding and he recalled how his mum would prepare the mixture early in the day and leave it in the bowl to set for several hours before cooking.

Last weekend I decided to follow that approach when making my own super- size Yorkshire Pudding. I made the batter mixture at about half ten in the morning even though I wasn't expecting to cook it until about five in the afternoon after I'd had the chance to review the day's football results.

I weighed out four ounces of plain flour, dropped it into the mixing bowl and made a well in the middle of the flour. I then cracked open an egg and dumped the yolk and the white in the middle of the well and mixed it into the flour. I next measured out half a pint of semi-skimmed long-life milk and mixed half of it into the egg and flour. I thought at this point that the dish was going to be a bit boring so I picked twelve leaves of sage from the garden, washed them thoroughly, chopped them up finely and added them to the mixture. I made sure to mix the sage well into the other ingredients so as to avoid any bits of sage coming loose from the mixture during cooking.

In order to finish off the first stage of preparation I poured the remaining milk into the bowl and exercised the various muscles in my arms to mix everything together with a large wooden spoon. I then left it to set.

After fully digesting the afternoon's football results I returned to the kitchen at five o'clock and poured out enough cooking oil to cover the bottom of a high sided 15cm x 30cm baking tray. The oven was preheated to 210 degrees (220 degrees if you don't have a fanned oven) and I put the tray with the cooking oil in the oven for one minute to heat up the oil. I took the tray out, stirred the mixture in the bowl one last time, dumped it into the tray and stuck it in the oven.

After twenty-five minutes I removed it from the oven and found that the mixture had expanded into a mass of crispy batter perfect to go with many different dishes. In this case I served the Yorkshire Pudding with Lentils cooked in Red Wine and Shallots and it didn't take long for it to get eaten as half had gone by the time I even had the chance to take a picture of it.

Saturday 25 February 2012

Nice and Rosti

As well as baking bread for the Chili Party two Saturday nights ago I took some time out to make a main meal during the day. To find some inspiration I dug out a cookbook that was originally published in the early 1980s. When I read the book it was interesting note how approaches to cooking have changed since that time. Indeed some of the recipes were so old-fashioned that comedian Peter Kay could have used them for one of his stand up routines in which he reminds his audience about things they had previously forgotten years earlier.

I chose to make Rosti from the recipe book, which is basically Switzerland's answer to potato fritters. I began by weighing out 2lbs of Red Potatoes and took care to cut out any bad bits from them whilst still leaving on the majority of the skin. I also cut out any shoots growing out of the Potatoes. I then soaked the Potatoes in a bowl of water for about 5 minutes to make sure they were as clean as possible.

I brought a plan of water to boil and stuck the Potatoes in water and boiled them for exactly 8 minutes, no more no less it has to be 8 minutes. I then drained the Potatoes and left them to cool for about two hours, which turned out to be the same length of time as the rest of the afternoon.

After the Potatoes were cooled I peeled them and grated them into a mixing bowl. They are surprisingly easy to grate once they have been boiled and their flesh is as soft as White Stilton Cheese. I next cut up a small White Onion and mixed it well with the Potatoes before pouring a teaspoon of black pepper over the mixture.

It was then time for the tricky bit. I poured enough olive oil into a frying pan to cover the bottom and added two ounces of margarine. I turned the heat on and melted the margarine and then added the mixture. I fried it for at least twenty five minutes constantly turning it with a wooden slicer to stop it sticking to the pan as I did so. Once I was sure the mixture was cooked I pushed it together and fried for another ten minutes.

Once I was sure the mixture was cooked I removed it from the pan and served it with the rest of my tea which on this occasion was Glazed Carrots (pictured to the right of the Rosti) with Marjoram Vegetarian Sausages cooked in onion gravy. Although this Rosti is a little tedious to prepare it's worth it as you can't beat the taste of fried onions and potatoes in sunflower oil. It seems therefore that cheese with holes in it and Toblerone are not the only tasty foodstuffs to come out of Switzerland.

Sunday 19 February 2012

Spuds you like

I was lucky enough to attend a Chili Party at an old school friend's house last weekend and thought that some homemade bread would go very well with the Chili. I decided to knock up some Potato and Rosemary Bread as my contribution to the party food.

The first step I took was to lay my hands on six ounces of Potatoes, which is roughly the equivalent to one large potato. I used a large red potato in this instance. I next peeled the potato, cut it into cubes and steamed it until soft for about 15 minutes before mashing it thoroughly. While the mashed potato was cooling in the pan I nipped into the garden and cut four stalks of Rosemary. The Rosemary is a little tough at this time of year but still retains enough flavour to be used in cooking.

I then prepared the rest of the ingredients of the dough by taking a sachet of yeast and a pound of strong white bread flour and mixing them together in a bowl. I then added the mashed potato and the leaves from the Rosemary stalks to the bowl and mixed them well with a metal tablespoon. I then poured half a pint of warm water and two tablespoons of olive oil into the mixture and stirred it together well. Unlike the time when I made Chelsea Buns the ingredients blended together well and I only needed a little flour to stop the dough getting soft and gluing itself to the bowl.

Once the mixing was complete it was time to knead the dough.I first selected an appropriate hard rock album to put on the CD player to get me in the right mood for some serious kneading- this weekend it was Rush's 2007 offering Snakes and Arrows which rocks harder than you would expect for three musicians in their mid fifties. I punched the dough hard until it was flat in the bowl and then turned it over to repeat the pummeling. I then squeeze the dough together into ball and then continued punching it using the same process about five or six more times.


It was then time for a rest and also time to let the dough rise. I went and put the bowl of dough on the front window sill in full view of the sun streaming in through the bedroom window. An hour later I retrieved the bowl and found that the dough had expanded to King Kong proportions. I then put it on a baking tray lined with greased cooking foil and then cut a cross shape in the bread with my knife. Immediately before putting it into the oven I poured a small amount of olive oil into the cross shape.

The cooking of this bread is a two stage process; first you cook it at 210 degrees (if you have a fan oven, 220 if not) for ten minutes and then cook it at 180 degrees (190 for a non-fan oven) for a further 20 minutes.  After it is cooked the bread should be left on a rack to cool as seen in the pictures I took.

I took the bread to the party that evening and the guests and hosts enjoyed it. I found that it was surprisingly light which is unusual for homemade bread and the Rosemary gave it a distinctive flavour without it spoiling the taste of the top quality chili on offer.

Friday 17 February 2012

Cooking Apples with a difference

The Sunday before last with the snow still settled on the ground outside I decided that instead of walking the dog in the extreme cold I would spend my afternoon making a pudding to go with tea.

I first measured out fifty grams each of sultanas and raisins and laid my hands on six walnuts. I then found the most expensive bottle of scotch whisky in the house and poured the equivalent of a single measure into a mixing bowl. I then added about a quarter of a pint of water to the whisky and poured in the fruit and the walnuts and left them the soak for about an hour. In doing this I allowed the fruit and nuts to soak into the whisky and water.

After disappearing off for an hour to read the Sunday papers I returned to the kitchen and cored three cooking apples. This is not an easy task. The best approach is to cut into the top of the apples and then cut a circle into the top of the apple while pushing the knife blade as deep into the apple as possible. Then the apple should be turned upside down and the process repeated with the bottom of the apple. With a bit of pushing on the top and bottom of the apples you can remove the cores.

Once I had completed this task I found a glass pie dish, the ones with the high sides used to cook lasagne and shepherd's pie are best, and poured water into it until the water was about half a centimetre deep. I then placed the apples in and filled their middle with the whisky-sodden sultanas and raisins.

To finish off the apples I poured a teaspoon of brown sugar on top of the fruit in the apples and then added a generous knob of margarine onto the top of each apple. This margarine then acted as the glue to stick two walnuts each onto the top of the apples.

This recipe is very easy to undercook as I found once when I did not leave apples in the oven for long enough and suffered side effects from trying to eat them. The best way to cook the apples is to what I did on this occasion and cover the top of the pie dish with foil and cook the apples in a fanned oven for half an hour. After half an hour I whipped off the foil and then cooked the apples for another 20 minutes.

I took the apples out of the oven after a total of 50 minutes cooking and I could instantly tell they were ready as a white foam-like substance oozed from the skin and the walnuts were giving off a distinctive almost smoky smell.


Some cooks swear by serving this recipe with cream, I prefer the healthier option of putting the apples in individual bowls and pouring plain Greek Yoghurt over them. The results are excellent as the melted butter, sugar, cooked walnuts and whisky-flavoured fruit more than compensate for the bland taste of the cooking apples. The yoghurt gives the whole dish a smooth texture and cancels out the slightly tough skins of the apples. This is an easy recipe to make (save for coring the apples) and provides good comfort food just before the start of the working week.

Sunday 5 February 2012

Carrot you like

Yesterday afternoon Facebook was filled with warnings of snow so to see if it was true I ventured out in it and was "stranded" at my local pub. The snow was so bad that I had to stay there until midnight before I could get home even though the pub is only at the end of my road. This morning I decided to check the snow out again by taking the dog a walk in the hills and returned home feeling colder than a well-digger's backside. There was only one solution; a quick home made soup to get me back to room temperature.

To set the scene I stuck the fifth Doors album on the CD player (a nice slice of hard up-tempo blues- rock to help me prepare the soup faster)  and  went to work. I diced up three medium-sized carrots and two white onions. I then covered the bottom of my trusty Le Creuset dish with olive oil, put it on the hob, turned on the heat and threw in the carrots and onions.

I next measured out a teaspoon each of cumin seeds, ground ginger, ground coriander and black pepper and put them in the pot with the vegetables. The next bit is the key part to getting this ostensibly simple soup right. On a medium heat I mixed the ingredients thoroughly together so that all the flavours are locked in early on in the process- you can see how this is done in the photos of the soup prior to blending it. I then put the lid on the Le Creuset dish and left it to cook for ten minutes on a medium heat.

In the meantime I laid my hands on a couple of chicken stock cubes, boiled the kettle and made one and three quarter pints of chicken stock. I then added it to the dish with a teaspoon of sugar and left the whole mixture to cook on the hob for about half and hour.

In order to finish the soup off I took the dish off the heat after the half hour was up and blended it before reserving it in the Le Creuset Dish. The final touch was to get some unsweetened soya milk (don't use the sweet stuff it'll make the soup too sweet and ruin it) to the dish and mix it in well. I used about a quarter of a teacup's worth as too much will ruin the naturally spicy flavour of this soup.

The Verdict 


This is a simple soup to make if you get the basics correct and mix everything together thoroughly at the right time. It has enough seasoning in it not be overpowering while still having enough kick to warm you up on a cold winter's day. No wonder this soup always seems to be on the menu at restaurants up and down the country.

Made in Chelsea

Part two of my Sunday afternoon project was to cook some Chelsea Buns as a sweet postscript to the Tomato, Aubergine and Kidney Bean Pie I made earlier. I wasn't expecting the buns to take nearly as long as they did to prepare but the end result justified the long drawn out means.

The first step is to make the dough and according to the recipe I'd laid my hands on this involves sticking 900 grams of white bread flour into your mixing bowl and then dropping about 75 grams of caster sugar in with it through a sieve. Unfortunately my sieve wasn't quite the right size for all the bread flour so it ended up being dumped into the bowl in one big mass. I also dropped in 175 grams of butter cut into pieces.

 Meanwhile I cracked open two eggs and beat them hard with a whisk in a separate bowl before adding them to flour and sugar. The next step involved getting the water in the kettle to my own body temperature (37 degrees) and pouring 400ml of it into the bowl with the other ingredients. After this I dropped a sachet of yeast (about 50 grams) into the mix. Now for the tough bit.

I got my favourite metal table spoon from the kitchen drawer and started to mix the ingredients together. This wasn't an easy task and the trick was to spread the water and egg evenly over the vast amount of flour, sugar and butter. Gradually the ingredients started to stick together (as well as stick to my spoon) until they formed a thick wet mass of dough which stuck to the bowl like industrial strength glue. There is always a way out. In this case it is to add a bit more bread flour into dough to toughen it up a bit. Having done this it's then time to give the dough a good kneading by sticking your fists through it like Mike Tyson working over Frank Bruno- just make sure you don't break your bowl! Other ways to knead the dough include grabbing it with one hand and slamming it hard onto the work surface. The trick in doing this is to beat the air out of the dough prior to cooking it. Once the dough is soft but not sticky enough to leave pieces attached to the bowl or work surface put it back in the bowl and leave it to rise for about 15 minutes.

After having a short sit down and a cup of green tea to get my energy back from kneading the dough  (better and cheaper exercise than joining a gym) it was time to tackle the easy part, making the filling. I first weighed out 50 grams of butter and then rolled out the dough into a long rectangle on the work surface. The best way to roll your dough is to put plenty of flour on the work surface and on your rolling pin to make sure the dough doesn't stick to anything.

I then got the butter and spread it over the top of the dough as if making a gigantic sandwich and then weighed out about 100 grams of sultanas and a further 100 grams of mixed peel left over from Christmas. Will the festive season never end!? I only finished eating the Christmas Cake in mid-January. To give dough even more sweetness I sprinkled a teaspoon of Cinnamon over the sultanas and the peel. At this point I balanced out the sweetness by taking a whole lemon and grating the majority of its zest onto the dough.

The recipe gets a bit tedious at this point as the dough needs rolling into a sausage shape without dis-guarding the fruit, cinnamon and the rest of the filling all over the kitchen. The trick is to keep turning the dough as if you are wringing out water from a towel or a flannel. After this slice the dough into pieces (probably about twelve for dough of this size) and if any of the filling falls out of the mixture stuff it back in so it can be used in the next piece of dough you cut.

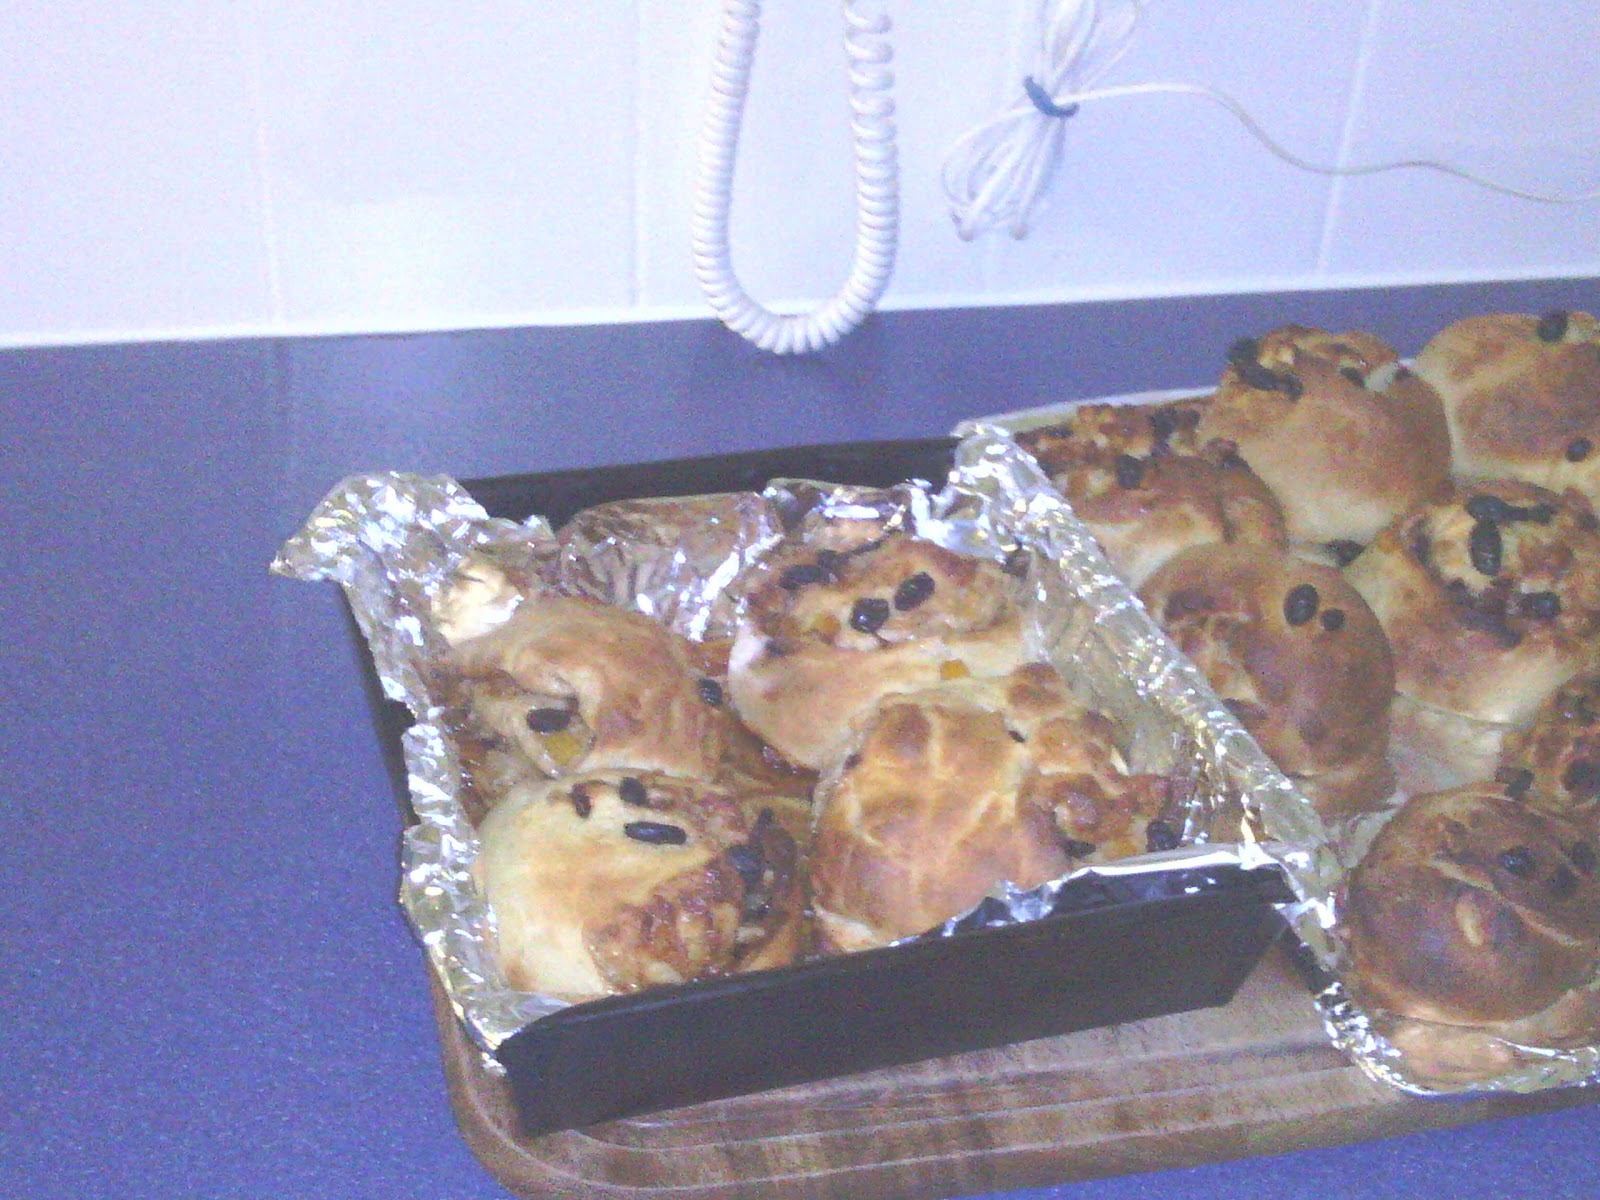
When I finally finished cutting the buns I put them on foil that I'd previously greased thoroughly with margarine and cooked them in the oven at 210 degrees if (like me) you have a fan oven otherwise do them at 220 degrees. The buns should be in for no more than fifteen minutes as I found that some of the smaller buns were starting to burn and the loose sultanas were crunchy when eaten.

The Verdict


This isn't an easy recipe as the dough is a real challenge and it is frustrating trying to keep the filling in when you are cutting your buns out of the dough before cooking them. However it is worth it as the dough mixed with the cinnamon sugar and fruit makes a tasty combination which is extremely filling. I defy anyone to eat more than two of these substantial buns in one sitting. The food is also good comfort food to make at this time of year when Christmas is behind you and Spring is still a long way away.